
Your Ram’s check engine light stays glowing even after you’ve fixed the problem. Whether you tightened your gas cap or replaced a faulty sensor, that stubborn amber light won’t extinguish on its own, at least not right away.
To reset your Ram check engine light, you can use an OBD-II scanner to clear stored diagnostic trouble codes (DTCs), perform a battery disconnect for a hard reset, or execute the accelerator pedal sequence (key on, pedal down three times) to manually clear certain fault memories. Each method works for different situations, but you must verify the underlying repair is complete before clearing codes, otherwise, the light returns within minutes.
Modern Ram trucks (2018+) include a Security Gateway Module (SGW) that blocks unauthorized scanner access, requiring a bypass unlock code available from many aftermarket scan tools. This guide walks you through legitimate, safe reset procedures for Ram 1500, 2500, and 3500 models equipped with Hemi or Cummins engines.
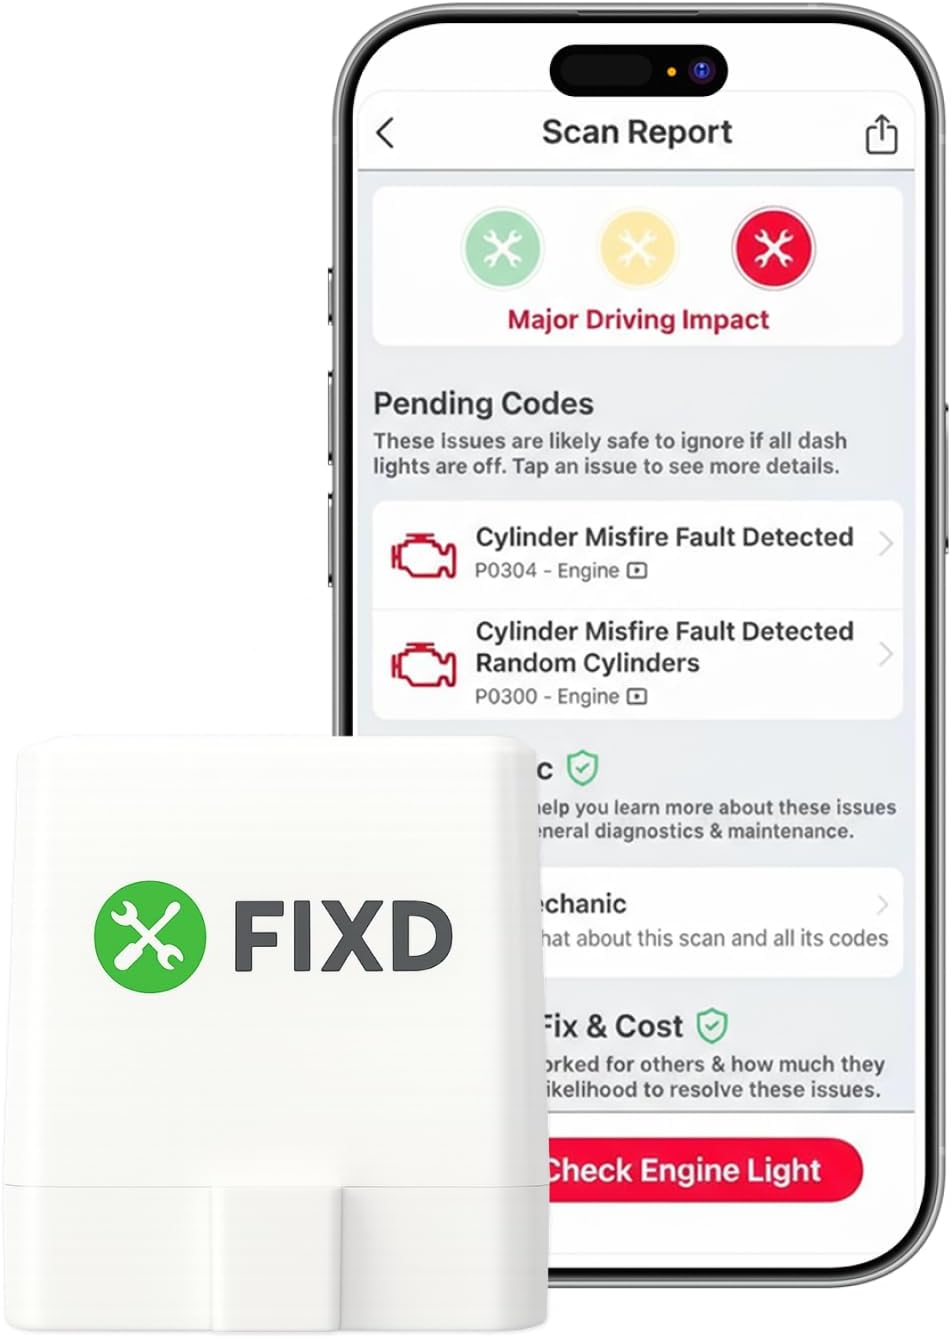
Best Bluetooth OBD2 Scanner
Detect 39,000+ Issues With Enhanced Codes. Save $1000s on car repairs & buying used vehicles by diagnosing problems yourself.
Shop on Amazon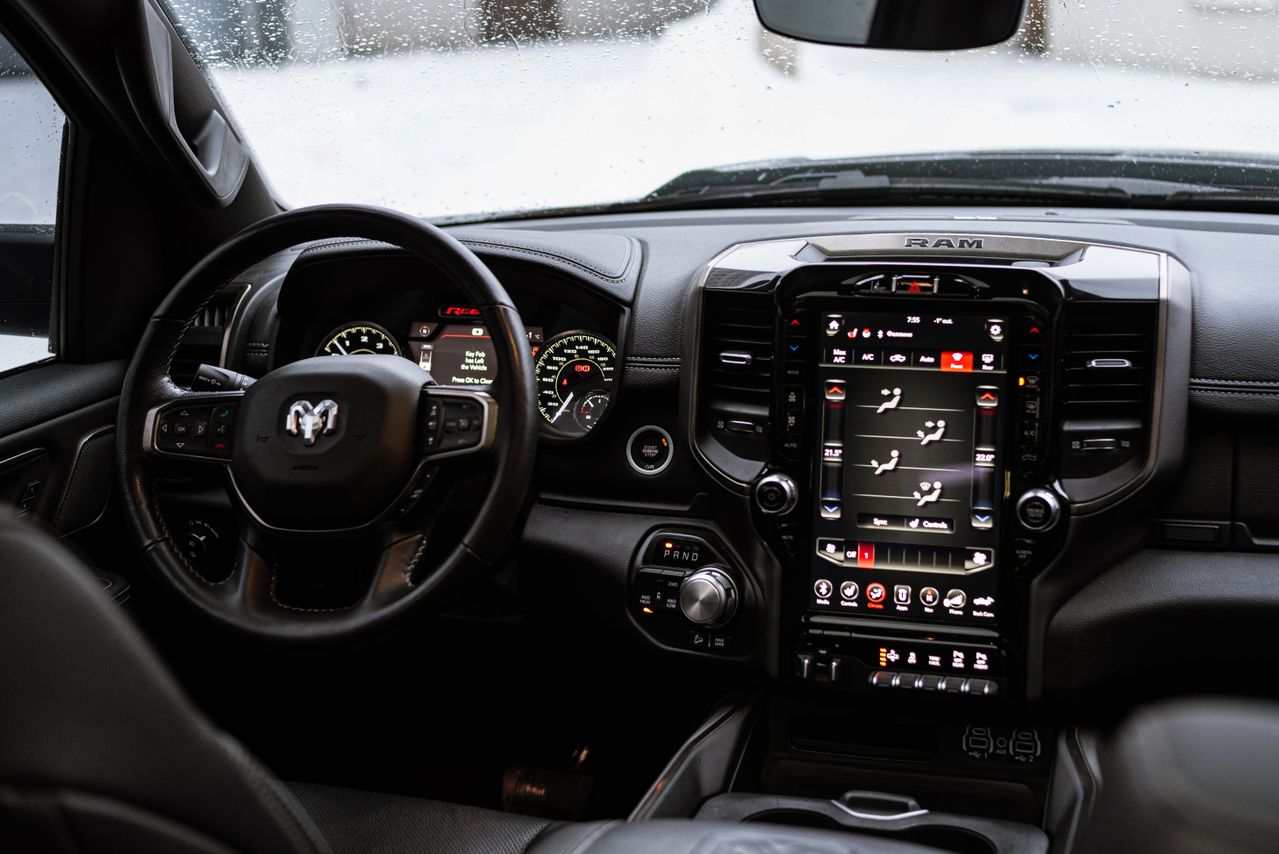
Key Takeaways
- Ram check engine light reset can be accomplished using three main methods: an OBD-II scanner (most reliable), battery disconnect (hard reset), or accelerator pedal sequence, but always verify the underlying repair is complete before clearing codes.
- Modern Ram trucks (2018+) with Security Gateway Modules require SGW bypass unlock codes from advanced scan tools, making professional-grade scanners like BlueDriver essential for newer models.
- The most common cause of Ram check engine light is a loose or damaged gas cap triggering EVAP codes (P0455, P0456, P0457), which can be resolved by inspecting the seal, cleaning it, and reinstalling with three distinct clicks.
- If the check engine light returns within one drive cycle after reset, the fault remains active—re-scan to compare codes and address cascading failures like clogged catalytic converters causing oxygen sensor compensation codes.
- Ignoring check engine light warnings can mask new critical faults, escalate minor issues into expensive repairs, cause emissions inspection failures, and potentially void Stellantis warranty coverage.
Understanding Your Ram’s Check Engine Light
What Triggers the Check Engine Light
Your Ram’s powertrain control module (PCM) monitors dozens of sensors across the engine, emissions system, and drivetrain. When any reading falls outside normal parameters, even temporarily, the PCM logs a diagnostic trouble code (DTC) and illuminates the check engine light.
Common triggers include oxygen sensor voltage drift, evaporative emission leaks (often a loose gas cap), misfires detected in one or more cylinders, throttle position sensor faults, and catalytic converter efficiency below threshold. Some codes set immediately after a single fault event: others require multiple drive cycles before triggering the light.
The light serves as your early warning system. Minor issues like a loose gas cap generate the same amber indicator as severe problems like transmission overheating or cylinder head gasket failures. You can’t tell severity from the light alone, only a scanner reveals the actual fault.
Why You Shouldn’t Ignore the Warning
Driving with an active check engine light masks new problems. If a second, critical fault occurs, like loss of oil pressure, you won’t receive a new warning because the light is already on. You’ll miss the alert until catastrophic damage occurs.
Ignored codes often escalate. A small evaporative leak becomes a failed purge valve. A single misfire turns into damaged catalytic converters. Stellantis warranty coverage may deny claims if service records show extended driving with active fault codes that contributed to failure.
You’ll also fail state emissions inspections. Technicians connect to your OBD-II port and immediately see stored codes and readiness monitor status. Even if you clear codes the morning of your test, insufficient readiness monitors trigger an automatic fail in most jurisdictions.
Before You Reset: Essential Steps to Take First
Scanning for Diagnostic Trouble Codes
Never clear codes before recording them. Connect an OBD-II scanner to the diagnostic port located beneath your Ram’s steering column, left of the brake pedal. Turn the ignition to ON (engine off) and wait for the scanner to establish communication.
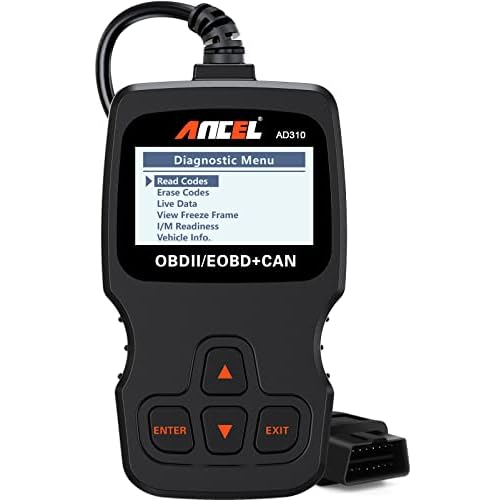
Select “Read Codes” to display all stored DTCs. Write down each code and its description. Common Ram codes include P0420 (catalyst efficiency), P0171 (system too lean), P0300 (random misfire), and P0457 (evaporative leak). Some professional-grade scanners also display freeze frame data showing engine conditions when the fault occurred.
Recommended scanner for Ram SGW bypass: The ANCEL AD410 offers basic code reading for under $30, but for 2018+ Ram trucks with Security Gateway Modules, consider the BlueDriver Bluetooth Pro, which includes manufacturer-specific unlock protocols and lifetime software updates.
Research each code online using resources like the National Highway Traffic Safety Administration recall database or manufacturer service bulletins. Some codes indicate recalls or extended warranty coverage. Verify your repair addresses the root cause, not just symptoms, before proceeding with any reset method.
Method 1: Resetting With an OBD-II Scanner
This is the cleanest, most reliable reset method. After confirming your repair, reconnect your OBD-II scanner and navigate to “Erase Codes” or “Clear DTCs.” The scanner sends a command to the PCM instructing it to delete all stored faults and turn off the check engine light.
On 2018–2026 Ram trucks equipped with the Security Gateway Module, you may see “Unable to Connect” or “Access Denied” errors. The SGW prevents unauthorized communication to protect against theft and tampering. Many modern scanners include SGW unlock features, consult your tool’s manual for the specific unlock sequence, which often involves entering your VIN or using an app-based authorization.
After clearing codes, the scanner will show zero DTCs and all readiness monitors in “Not Ready” status. Your truck needs a complete drive cycle to reset these monitors before passing emissions testing. The check engine light should extinguish immediately if the underlying problem is truly fixed.
If the light returns within 10 minutes or 5 miles, the fault is still active. Re-scan to see if the same code returned or if a new one appeared. Do not repeatedly clear codes hoping the problem disappears, you risk masking progressive damage and voiding warranty coverage.
“Cleared my P0456 code with a $25 scanner after replacing the gas cap. Light stayed off for 60 miles, then came back. Turns out the EVAP purge valve was also leaking.” via Ram Forum
Method 2: Battery Disconnect Reset Technique
Disconnecting your Ram’s battery performs a hard reset, clearing all stored codes and returning the PCM to factory defaults. This works when you lack a scanner, but erases radio presets, seat memory, and adaptive transmission learning.
Park on level ground and turn off the ignition. Remove the key fob from the cabin. Open the hood and locate the negative battery terminal (black cable with minus symbol). Use a 10mm wrench to loosen the terminal clamp nut. Lift the cable free and secure it away from the battery post using zip ties or tape.
Wait 15–20 minutes. Some technicians recommend 30 minutes for complete capacitor discharge across all control modules. Do not turn on headlights or attempt to “drain” the system faster, this risks damaging sensitive electronics.
Reconnect the negative terminal and tighten securely. Start the engine and let it idle for 2 minutes. The check engine light should remain off if your repair was successful. You’ll need to reset your clock, radio stations, and driver profiles manually.
Pro tip: Before disconnecting, connect a 12V memory saver to your cigarette lighter port. This device maintains volatile memory while you disconnect the main battery, preserving settings while still clearing fault codes.

Method 3: Using Your Ram’s Accelerator Pedal
Some Ram models support a manual reset sequence using the accelerator pedal and ignition key. This method works inconsistently across model years and may only clear certain non-emissions codes.
Sit in the driver’s seat with the engine off. Insert the key and turn it to ON (all dashboard lights illuminate, but engine doesn’t start). Slowly press the accelerator pedal to the floor and release it completely. Repeat this cycle three times within 10 seconds.
After the third release, turn the key to OFF and wait 5 seconds. Start the engine normally and observe the dashboard. If the check engine light blinks rapidly for 10 seconds, then turns off, the reset succeeded. If it stays solid or blinks continuously, the PCM did not accept the command.
This method fails on most 2019+ Ram trucks due to updated security protocols. It also won’t clear codes related to emissions systems monitored by federal OBD-II standards. Use this as a last resort when you lack scanner access and cannot safely disconnect the battery (for example, if you have an aftermarket alarm system that resets to anti-theft mode after power loss).
“Pedal trick worked once on my 2016 Ram 1500 for a throttle body code, but hasn’t worked since the 2020 software update.” via r/ram_trucks
What to Do If the Light Comes Back On
An immediate return (within one drive cycle) indicates an active fault. The PCM detects the problem during its continuous monitoring routine and re-logs the code instantly. Your repair didn’t solve the root cause, or a second related component has failed.
Re-scan for codes and compare them to your original list. If the same code returns, inspect your repair work. Check electrical connections for corrosion, verify replacement parts meet OEM specifications, and confirm all vacuum lines and hoses are properly seated.
If a different code appears, you may have a cascading failure. For example, a clogged catalytic converter (P0420) often causes upstream oxygen sensor codes (P0131) as the sensor tries to compensate for poor exhaust flow. Address both components to permanently extinguish the light.
Intermittent failures are the most frustrating. The light appears randomly, then disappears for days or weeks. These typically indicate loose connectors, intermittent short circuits, or temperature-sensitive sensor drift. Consider using a professional-grade scanner like the Autel MaxiCOM that records live data streams. Drive with the scanner connected to capture freeze frame data the moment the fault occurs.

If you’ve verified your repair three times and the light still returns, consult a Ram dealership or certified technician. Some faults require factory-level software reflashing or TSB (Technical Service Bulletin) updates that only dealer equipment can perform.
Common Ram Check Engine Light Causes and Fixes
Loose or Faulty Gas Cap
The evaporative emissions system maintains sealed pressure to prevent fuel vapors from escaping. A loose, cracked, or missing gas cap creates a leak that triggers codes P0455, P0456, or P0457. This is the most common Ram check engine light cause, and the easiest fix.
Remove your gas cap and inspect the rubber seal for cracks, hardening, or debris. Wipe the seal clean with a dry cloth and reinstall the cap, turning it until you hear three distinct clicks. If the seal looks damaged, replace the cap with an OEM part (available at any auto parts store for $15–25).
After securing the cap, drive for 50–100 miles. The PCM runs an EVAP system self-test during specific conditions (fuel level between 15–85%, ambient temperature 40–95°F, steady highway cruising). If the leak is truly sealed, the light will turn off automatically without manual reset.
Oxygen Sensor Issues
Oxygen sensors measure exhaust gas composition and allow the PCM to adjust fuel trim for optimal combustion. Ram trucks use multiple O2 sensors, upstream (before catalytic converters) and downstream (after converters). These sensors degrade over time, typically lasting 80,000–120,000 miles.
Common oxygen sensor codes include P0131, P0132 (Bank 1 Sensor 1), P0141 (Bank 1 Sensor 2 heater circuit), and P0151 (Bank 2 Sensor 1). Symptoms include rough idle, decreased fuel economy, and failed emissions tests showing high NOx or HC levels.
Replacement requires a 22mm oxygen sensor socket and penetrating oil. Spray the sensor threads with PB Blaster 24 hours before removal to prevent broken studs. Heat the exhaust manifold to 150°F (use an infrared thermometer) to expand the threads slightly. Install the new sensor hand-tight, then torque to 30 ft-lbs.
After replacement, clear codes with your scanner and complete a drive cycle. The new sensor needs 20–30 minutes of varied driving (idle, acceleration, highway cruising) before readiness monitors set to “Ready” status for emissions testing.
Frequently Asked Questions
What are the three main methods to reset a Ram check engine light?
The three primary methods are: (1) using an OBD-II scanner to clear diagnostic trouble codes, (2) disconnecting the battery for a hard reset, and (3) using the accelerator pedal sequence (key on, pedal down three times). Each method works for different situations, but you must verify the underlying repair is complete first.
Why does my Ram check engine light keep coming back after I reset it?
An immediate return indicates the underlying fault is still active. Re-scan for codes to compare with your original list. If the same code returns, inspect your repair work for loose connections, improper parts, or unseated hoses. If a different code appears, you may have a cascading failure requiring additional repairs.
Can I reset my 2018+ Ram check engine light with any OBD-II scanner?
Modern Ram trucks (2018+) include a Security Gateway Module that blocks unauthorized scanner access. Many scanners include SGW unlock features, but you may need to enter your VIN or use app-based authorization. Tools like the BlueDriver Bluetooth Pro include manufacturer-specific protocols for 2018+ models.
How long does it take to complete a drive cycle after resetting check engine codes?
After clearing codes, your truck needs a complete drive cycle—typically 20–30 minutes of varied driving including idle, acceleration, and highway cruising—to reset readiness monitors. This is essential before passing emissions testing.
What’s the most common cause of a Ram check engine light?
A loose, cracked, or missing gas cap is the most common trigger, causing codes P0455, P0456, or P0457 in the evaporative emissions system. Simply inspect the rubber seal, wipe it clean, and reinstall until you hear three distinct clicks. Drive 50–100 miles for the system to self-test and clear the light automatically.
Should I disconnect my Ram’s battery to reset the check engine light?
Battery disconnection performs a hard reset but erases radio presets, seat memory, and transmission learning. Use this method only when lacking a scanner. Wait 15–20 minutes after disconnecting, then reconnect and let the engine idle for 2 minutes. Consider using a 12V memory saver to preserve settings while clearing codes.
Read More: