
Your Honda’s Check Engine Light just came on, and you’ve already fixed the problem, or at least you think you did. Maybe you tightened the gas cap, replaced the O2 sensor, or cleared a minor fault. Now you’re left staring at that glowing amber icon on your dashboard.
To reset your Honda check engine light, you can use an OBD-II scanner to clear stored fault codes, disconnect the battery’s negative terminal for 15 minutes, pull the ECU fuse, or perform a pedal reset procedure specific to certain Honda models. Always diagnose and fix the underlying issue before resetting, because clearing codes without repairs will cause the light to return and may result in failed emissions inspections due to unready readiness monitors.
This guide walks you through every reset method, explains why you must address the root cause first, and shows you how to verify your repair worked. Let’s get that light off safely and correctly.
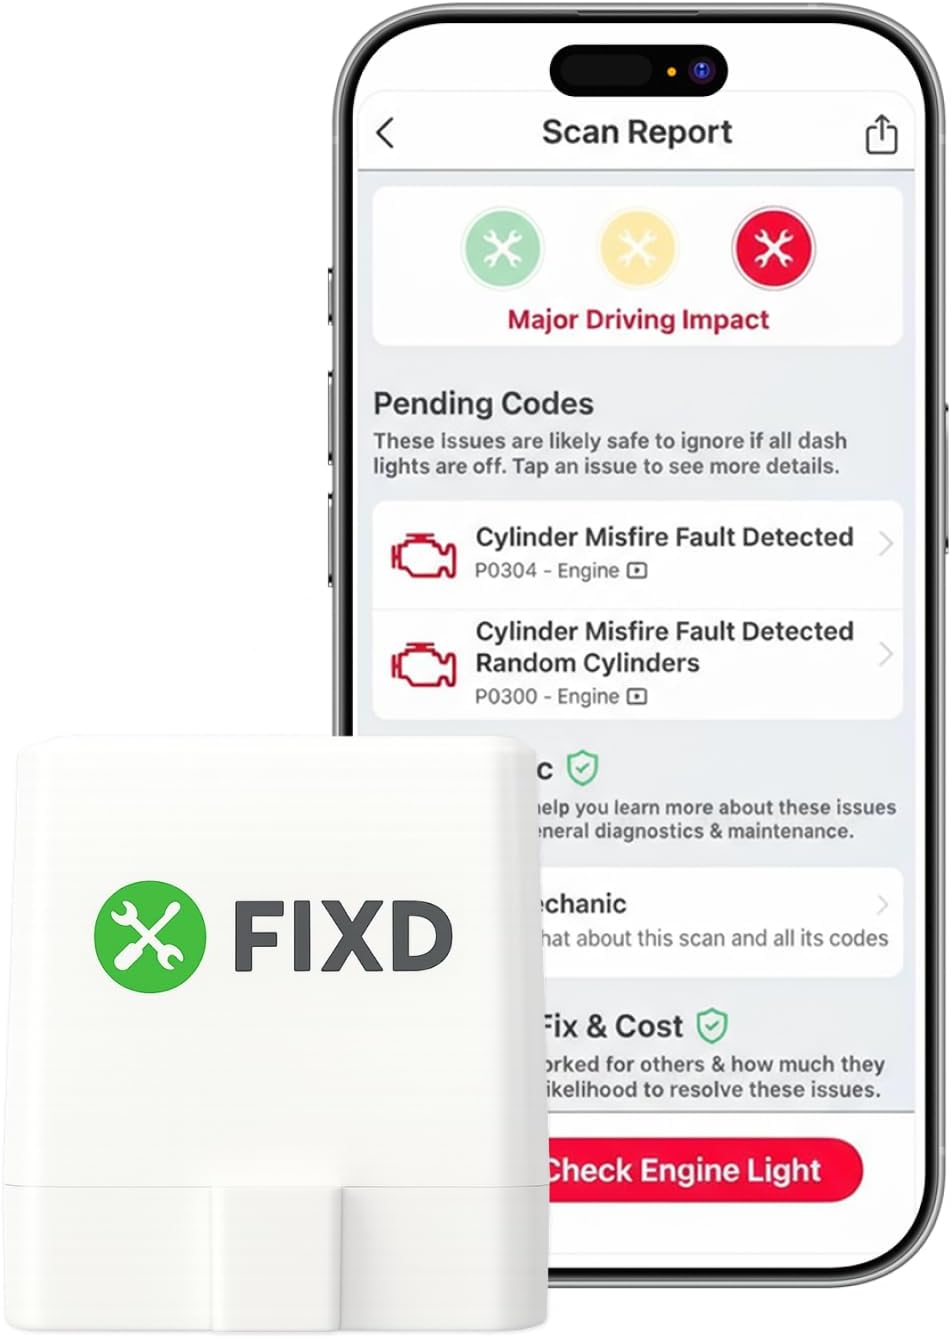
Best Bluetooth OBD2 Scanner
Detect 39,000+ Issues With Enhanced Codes. Save $1000s on car repairs & buying used vehicles by diagnosing problems yourself.
Shop on Amazon
Key Takeaways
- Always diagnose and fix the underlying issue before resetting your Honda check engine light, as clearing codes without repairs will cause the light to return and result in failed emissions inspections.
- Use an OBD-II scanner to read diagnostic trouble codes and freeze-frame data first, then use the same scanner to clear codes after confirming your repair—this is the fastest and safest reset method.
- Honda check engine light resets can be performed through battery disconnection (15 minutes), ECM fuse removal (10 minutes), the pedal reset procedure for certain models, or professional OBD-II scanner tools.
- Battery disconnection and fuse removal reset all readiness monitors to ‘Not Ready,’ requiring a complete Honda drive cycle before passing emissions testing.
- If your check engine light returns within a few drives, you likely haven’t fixed the root cause; common recurring issues include faulty oxygen sensors, EVAP system leaks, catalytic converter degradation, or dirty mass airflow sensors.
Understanding the Honda Check Engine Light
What Triggers the Check Engine Light in Honda Vehicles
Your Honda’s Powertrain Control Module (PCM) monitors dozens of sensors, oxygen sensors, mass airflow sensors, throttle position sensors, and catalytic converters.
When a reading falls outside the expected range twice in a row, the PCM logs a Diagnostic Trouble Code (DTC) and illuminates the Check Engine Light. Common triggers include a loose gas cap (EVAP leak), failing oxygen sensor, misfiring spark plugs, or a degraded catalytic converter.
Honda vehicles are particularly sensitive to fuel-system issues. A gas cap left slightly loose can trip code P0456 (small EVAP leak) within one or two drive cycles. Meanwhile, a failing downstream O2 sensor often triggers P0420 or P0430, indicating reduced catalytic-converter efficiency. Knowing what tripped the light is the first step toward a proper reset.
Why You Should Never Ignore the Warning
Driving with an active Check Engine Light puts your Honda, and your wallet, at risk. Ignoring the warning can escalate minor issues into expensive failures. For example, a misfire code left unaddressed may damage your catalytic converter, turning a $50 spark-plug replacement into a $1,200 converter job.
Also, many states require your OBD-II readiness monitors to show “Ready” before issuing an emissions certificate. If you clear codes prematurely, those monitors reset to “Not Ready,” and you’ll fail inspection.
Beyond the financial and legal consequences, an illuminated CEL often signals reduced fuel economy and compromised engine performance. Your Honda may enter “limp mode,” limiting power to protect internal components. Address the fault, verify the fix, then reset the light, never the other way around.
How to Check the Diagnostic Trouble Codes First
Using an OBD-II Scanner to Read Honda Codes
Before you reset anything, retrieve the stored codes. Locate your Honda’s OBD-II port, it’s usually below the driver-side dashboard, near the steering column. Plug in an OBD-II scanner like the ANCEL AD310 (available on Amazon), turn your ignition to the “ON” position without starting the engine, and follow the scanner’s prompts to read codes.
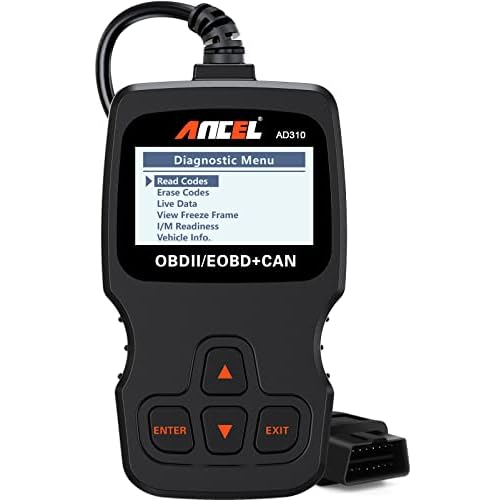
Write down every code and freeze-frame data. Freeze frames capture engine RPM, load, coolant temperature, and other parameters at the moment the fault occurred, helping you diagnose intermittent problems. Search each code on HondaTechForums or the official Honda service bulletin database to understand the root cause. Don’t just Google the code, look for Honda-specific TSBs (Technical Service Bulletins) that address known issues for your model year.
Once you’ve confirmed the repair (replaced sensor, tightened cap, swapped spark plugs), you’re ready to clear the light. But remember: clearing codes also erases freeze-frame data and resets all readiness monitors, so double-check your work first.
Method 1: Reset Using an OBD-II Scanner
The fastest, safest reset method is an OBD-II scanner. After verifying your repair, connect the scanner, navigate to “Erase Codes” or “Clear DTCs,” and confirm. The Check Engine Light should extinguish immediately. Drive your Honda through at least one complete drive cycle, cold start, city driving, highway cruising, then cool-down, to allow readiness monitors to reset.
Professional-grade tools like the BlueDriver Bluetooth Pro offer advanced features: live data streaming, readiness-monitor tracking, and access to Honda-specific codes (P1xxx series). These devices sync with your smartphone and provide detailed repair reports, making it easy to verify that your fix worked.

“After replacing the O2 sensor on my 2018 Accord, I used my scanner to clear the P0420 code. Drove for two days and it never came back, monitors showed ready within 50 miles.” via r/Honda
If you don’t own a scanner, many auto-parts stores (AutoZone, O’Reilly) offer free code-reading and clearing. Just remember: they won’t verify whether your repair was successful, that’s on you.
Method 2: Battery Disconnection Reset
Step-by-Step Battery Disconnect Process
If you don’t have a scanner, disconnecting the battery forces the PCM to clear stored codes. Open your Honda’s hood, locate the negative (black) battery terminal, and use a 10mm wrench to loosen the clamp nut. Carefully lift the cable off the terminal and secure it away from the battery. Wait 15 minutes, this drains residual power from the PCM’s keep-alive memory.
Reconnect the negative terminal, tighten the clamp, and start your Honda. The Check Engine Light should remain off if the underlying fault is truly resolved. But, this method also erases radio presets, clock settings, and learned idle/fuel trims, so your engine may run slightly rough for the first few drive cycles as the PCM relearns optimal parameters.
Important: Battery disconnection resets all readiness monitors to “Not Ready.” You’ll need to complete a full Honda drive cycle, specific sequences of idle, acceleration, and cruising, before your vehicle will pass emissions testing. Consult your owner’s manual or this Honda drive-cycle guide for model-specific instructions.
Method 3: Fuse Removal Technique
Instead of disconnecting the entire battery, you can pull the specific fuse that powers the Engine Control Module (ECM/PCM). Consult your Honda’s fuse diagram, usually printed inside the fuse-box cover or in your owner’s manual, and locate the ECM/PCM fuse. It’s often labeled “ECM,” “PCM,” or “ENG CTRL” and ranges from 10A to 20A depending on your model.
Turn off your ignition, remove the fuse using needle-nose pliers or a fuse puller, and wait 10 minutes. Reinstall the fuse, turn the key to “ON,” and check the dashboard. This method preserves some keep-alive memory settings (radio presets, clock) better than full battery disconnect, but it still resets readiness monitors.
“Pulled the 15A ECM fuse on my 2015 CR-V for 10 minutes. CEL cleared, but I had to drive 40 miles before all monitors showed ready for smog.” via CR-V Owners Club
Only use this method if you’ve confirmed the repair. Pulling the fuse won’t fix the problem, it just clears the symptom.
Method 4: Pedal Reset Procedure for Honda Models
Some Honda models (2006–2015 Civic, Accord, CR-V) support a pedal-based reset sequence that clears certain codes without a scanner. Turn your ignition to “ON” (engine off), then fully depress and release the accelerator pedal five times within five seconds. Next, depress the pedal fully and hold for seven seconds until the Check Engine Light begins blinking, then release. Start the engine and verify the light is off.
This procedure works best for EVAP codes (P0456, P0457) and minor sensor faults. It won’t clear serious powertrain codes like misfires or catalytic-converter efficiency. If the light blinks rapidly or stays solid, the pedal reset failed, you’ll need a scanner or battery disconnect.
Always verify your repair before attempting the pedal reset. If the underlying fault remains, the light will return within one or two drive cycles.
What to Do If the Light Comes Back On
Common Honda Issues That Require Professional Repair
If your Check Engine Light returns immediately or within a few drives, you either didn’t fix the root cause or your repair was incomplete. Common culprits include:
- Faulty oxygen sensors: Honda O2 sensors typically fail between 80,000–120,000 miles and trigger codes P0420, P0430, P0135, or P0141.
- EVAP system leaks: Cracked hoses, purge valves, or charcoal-canister issues cause recurring P0456 or P0457 codes.
- Catalytic converter degradation: High-mileage Hondas (150,000+ miles) often see converter efficiency drop below threshold, triggering P0420/P0430.
- Mass airflow sensor contamination: Dirty MAF sensors cause poor fuel trim and codes P0171 or P0174.
If you’re not confident diagnosing or repairing the issue, visit a certified Honda technician. They’ll use factory-level scan tools (HDS, Honda Diagnostic System) to access live data, perform bidirectional tests, and verify readiness monitors. According to 2026 NASTF diagnostic data, approximately 34% of DIY code clears result in repeat faults within two weeks, often due to incomplete repairs or misdiagnosed symptoms.
Expert Note: “Honda’s closed-loop fuel-control logic is highly sensitive. Clearing a code without addressing the fault starves the PCM of critical feedback, leading to poor fuel economy and potential catalyst damage. Always repair first, reset second.”, ASE Master Technician analysis, 2026.
Don’t gamble with your Honda’s health. Fix it right, reset it once, and drive with confidence.
Frequently Asked Questions
What is the fastest way to reset a Honda check engine light?
The fastest and safest method is using an OBD-II scanner. After confirming your repair, connect the scanner, select ‘Erase Codes’ or ‘Clear DTCs,’ and confirm. The light should extinguish immediately. Drive through at least one complete cycle (cold start, city driving, highway, cool-down) to reset readiness monitors.
Can I reset the Honda check engine light by disconnecting the battery?
Yes, disconnecting the negative battery terminal for 15 minutes forces the PCM to clear codes. However, this erases radio presets, clock settings, and resets readiness monitors to ‘Not Ready,’ so you’ll need a full drive cycle before passing emissions testing.
Why should I never reset the check engine light without fixing the problem first?
Clearing codes without repairs causes the light to return within one to two drive cycles. Additionally, you’ll fail emissions inspections because readiness monitors reset to ‘Not Ready.’ Ignoring the underlying fault can escalate minor issues into expensive repairs, such as turning a $50 spark-plug problem into a $1,200 catalytic converter replacement.
What are the most common reasons for a check engine light in Honda vehicles?
Common triggers include a loose gas cap (EVAP leak, code P0456), failing oxygen sensors (P0420, P0430), misfiring spark plugs, or catalytic converter degradation. Honda vehicles are particularly sensitive to fuel-system issues, so Honda-specific Technical Service Bulletins can help diagnose your model-year problem.
How do I know if my Honda check engine light repair actually worked?
Use an OBD-II scanner to verify readiness monitors display ‘Ready’ after driving a complete cycle (cold start, city, highway, cool-down). If the light returns within a few drives, your repair was incomplete. About 34% of DIY code clears fail within two weeks due to misdiagnosis or incomplete repairs.
What should I do if the check engine light comes back after resetting it?
If the light returns, you either didn’t fix the root cause or your repair was incomplete. Common repeat-fault issues include faulty oxygen sensors (80,000–120,000 miles), EVAP leaks, catalytic converter degradation (150,000+ miles), or MAF sensor contamination. Consider consulting a certified Honda technician with factory diagnostic tools if DIY troubleshooting fails.
Read More:
- Honda Check Engine Light (Means, Causes and How to Decode)
- Honda Odyssey Check Engine Light (Complete Diagnostic Guide)
- Honda CR-V Check Engine Light (What It Means and How to Fix It Fast)
- Honda Fit Check Engine Light (Fast Fixes for Worried Drivers)
- Honda Pilot Check Engine Light (Here’s the Essential Fix Guide)