
You just replaced a faulty sensor or snapped your gas cap tight, but that amber check engine light on your Chevy dashboard refuses to go dark. It’s frustrating, especially when you’re confident you’ve already fixed the problem.
You can reset a Chevy check engine light using an OBD-II scanner to erase codes, disconnecting the battery negative terminal for fifteen minutes (hard reset), or completing a manufacturer-specified drive cycle that allows onboard monitors to verify repairs and clear the fault automatically. Each method has trade-offs: scanners preserve radio presets and readiness status, battery disconnects wipe all adaptive memory, and drive cycles require precise speed and idle sequences.
Before you clear any code, understand what triggered the light in the first place. Resetting without repairing the underlying fault gives you only a temporary reprieve, the light will return, sometimes within minutes. This guide walks you through safe, effective reset procedures for popular Chevy models like the Silverado, Equinox, Malibu, Cruze, Traverse, and Tahoe, and explains what to watch for after the reset to keep your engine healthy and emissions-compliant.
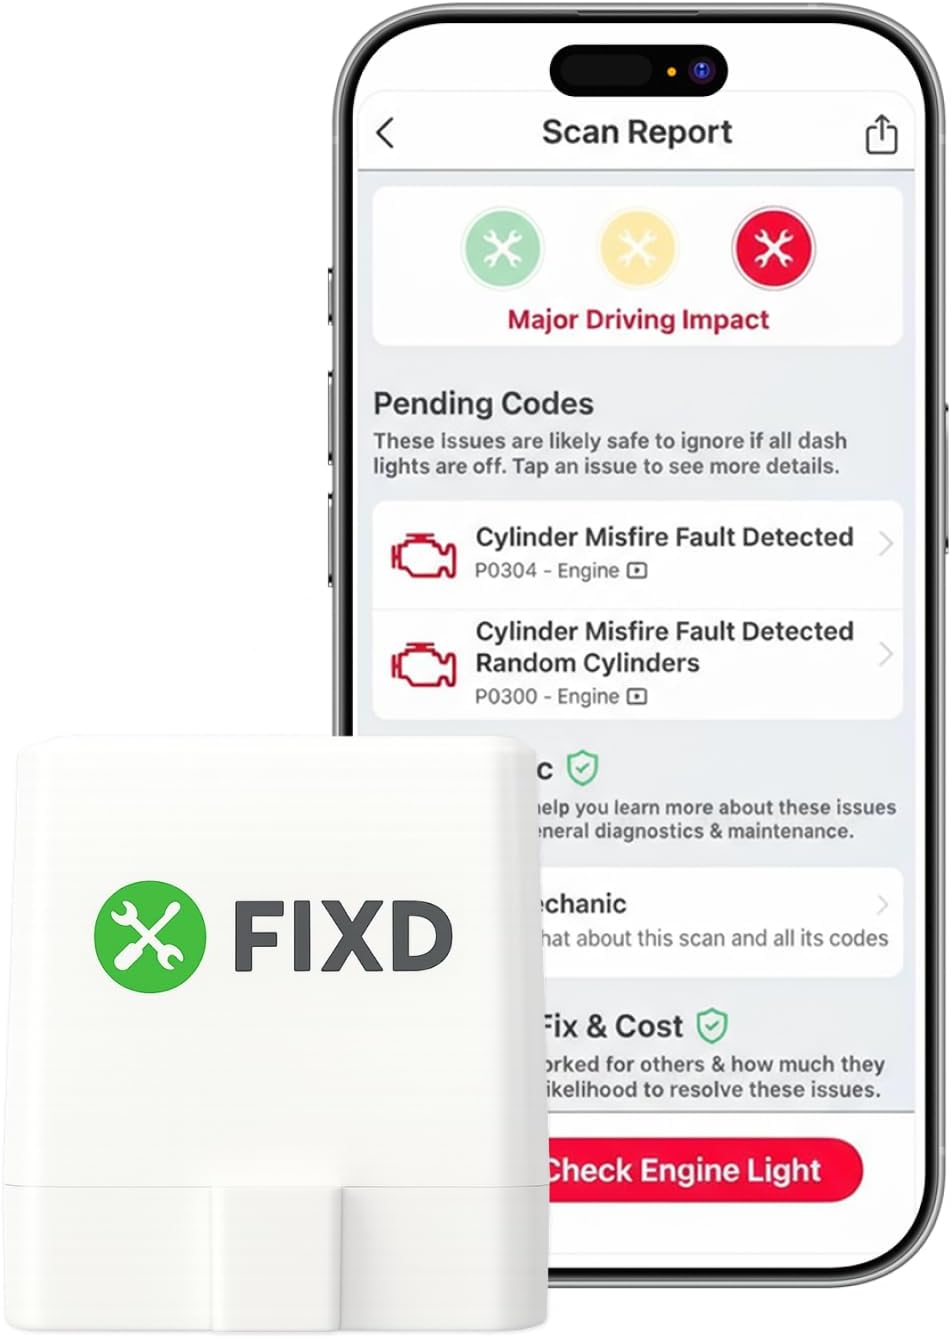
Best Bluetooth OBD2 Scanner
Detect 39,000+ Issues With Enhanced Codes. Save $1000s on car repairs & buying used vehicles by diagnosing problems yourself.
Shop on Amazon
Key Takeaways
- A Chevy check engine light reset requires proper diagnosis first—identify and repair the underlying fault before clearing codes, or the light will return within minutes.
- Use an OBD-II scanner to safely erase codes while preserving radio presets and readiness status, or perform a hard reset by disconnecting the battery negative terminal for 15–20 minutes.
- Steady amber lights indicate a safe-to-drive fault; flashing check engine lights signal severe misfires that can damage your catalytic converter, requiring immediate professional service.
- Complete a manufacturer-specified drive cycle (typically 50–200 miles of mixed driving) to restore readiness monitors to ‘Ready’ status before emissions testing, as incomplete monitors cause automatic test failures.
- Oxygen sensor failures are the most common cause of check engine lights; replace them properly and keep up with routine maintenance like spark plug and air filter replacements to prevent future issues.
Understanding Check Engine Light
Purpose of the Malfunction Indicator Lamp
Your check engine light, officially the Malfunction Indicator Lamp (MIL), is part of your Chevy’s onboard diagnostics (OBD-II) system. It monitors emission-control components, sensors, and engine management circuits.
When the powertrain control module (PCM) detects a fault that could increase emissions or harm the engine, it stores a diagnostic trouble code (DTC) and illuminates the MIL. Think of it as your engine’s way of saying, “Something’s wrong, check me out.”
Common Reasons for Illumination
The most frequent culprits include a loose or damaged gas cap (triggering an evaporative emission code like P0455 or P0456), failing oxygen sensors (P0130–P0167 range), misfiring cylinders (P0300-series), and faulty catalytic converters (P0420, P0430).
On Chevy trucks and SUVs, throttle-position sensor codes (P0120-series) and mass-airflow sensor faults (P0100-series) are also common. According to CarMD’s 2025 Vehicle Health Index, oxygen sensor failures remain the leading cause of check engine lights across all brands, accounting for nearly 8% of all DTCs logged.
Difference Between Steady and Flashing Light
A steady amber light means the PCM logged a fault but the vehicle is safe to drive, schedule a diagnostic check soon. A flashing check engine light signals an active, severe misfire that can damage the catalytic converter within minutes.
If your light flashes, reduce throttle immediately, avoid highway speeds, and head straight to a service bay. Never attempt a reset on a flashing MIL without first addressing the misfire.
Impact on Emissions and Engine Health
Ignoring a check engine light can lead to reduced fuel economy, failed emissions inspections, and expensive downstream damage. A stuck-open thermostat or failing oxygen sensor might only cost you a couple of miles per gallon at first, but unchecked misfires can melt catalytic converter substrates, a repair that runs into the thousands.
Plus, many states require all readiness monitors to show “Ready” before issuing an emissions certificate, so a hasty reset without proper drive-cycle completion can leave you stranded at the test station.
Diagnosing Before Reset
Reading Codes with an OBD-II Scanner
Before you clear anything, plug an OBD-II scanner into the diagnostic port beneath your Chevy’s steering column, usually to the left of the brake pedal. Turn the ignition to “On” (engine off), then press “Read Codes” on the scanner. You’ll see alphanumeric DTCs like P0171 (System Too Lean, Bank 1) or P0301 (Cylinder 1 Misfire).
Write them down or snap a photo: once erased, they’re gone until the fault recurs. Budget-friendly Bluetooth adapters like the FIXD OBD2 Scanner pair with your smartphone and translate codes into plain English, making diagnosis accessible even if you’ve never touched a scan tool.
Interpreting Diagnostic Data
DTCs follow a standard format: the first character (P for powertrain, B for body, C for chassis, U for network) tells you the system: the second digit (0 for generic, 1 for manufacturer-specific) indicates code type: the third digit identifies the subsystem (1 = fuel/air, 2 = fuel/air, 3 = ignition, 4 = emissions, etc.): and the final two digits pinpoint the specific fault.
For example, P0420 means generic (0), emission control (4), catalyst efficiency below threshold (20). Cross-reference your code on OBD-Codes.com or the Chevrolet owner support site for model-specific context.
“Had P0455 on my 2022 Malibu, turned out the gas cap wasn’t clicking three times. Tightened it, drove 50 miles, light went off on its own.” via r/Chevrolet
Addressing Common Faults in Chevy Vehicles
On GM vehicles, P0442 (small EVAP leak) often stems from a cracked purge valve or loose cap. P0300-range misfires can point to worn spark plugs (replace every 100,000 miles on most modern Chevys), bad ignition coils, or low compression. Oxygen sensor codes (P0130–P0167) typically require sensor replacement, they degrade over time and cleaning rarely helps.
If you see multiple codes, fix the most severe or “primary” fault first: secondary codes sometimes clear automatically once the root cause is resolved.
When to Consult a Professional
If you pull codes related to transmission control (P0700-series), ABS/traction (C-codes), airbag systems (B-codes), or any fault flagged as “critical,” take your Chevy to a certified technician. Resetting these without proper diagnostics can mask safety issues or void warranty coverage.
Likewise, if freeze-frame data shows abnormal coolant temps, fuel trims beyond ±10%, or injector pulse widths far outside spec, you need a pro with a factory-level scan tool and wiring diagrams. DIY resets work great for simple, confirmed repairs, not for complex driveability concerns.
Reset Methods Explained
Using an OBD-II Tool to Erase Codes
This is the cleanest, safest method. With your scanner connected and ignition on, navigate to “Erase Codes” or “Clear DTCs.” Confirm the command, wait for the “Success” message, then turn off the ignition and remove the tool. The check engine light should extinguish immediately.
Your radio presets, clock, and most adaptive fuel trims stay intact. For Bluetooth scanners, apps like Torque Pro or the BlueDriver app log historical codes so you can track patterns over time. Always verify the light stays off during a short test drive before assuming the repair worked.
Battery Disconnect Procedures
If you don’t own a scanner, disconnecting the battery negative (black) terminal for fifteen to twenty minutes forces a hard reset of the PCM. Use a 10 mm wrench or socket, loosen the clamp nut, lift the cable off the post, and tuck it away from the battery so it can’t accidentally touch metal. Wait at least fifteen minutes, some techs recommend thirty, then reconnect, tighten snugly, and start the engine.
Be aware: you’ll lose radio presets, seat memory, and all readiness monitors will show “Not Ready” until you complete a full drive cycle. On newer Chevys with electronic throttle control, you may also need to relearn idle via a specific key-on, key-off sequence detailed in your owner’s manual.
Drive Cycle and Automatic Resets
If the fault was transient, say, a one-time misfire from bad fuel, the PCM may clear the light on its own after three consecutive “good” trips (a trip is a cold start plus enough run time for all monitors to execute). GM drive cycles vary by model year, but a typical sequence includes: cold start, idle two minutes, accelerate smoothly to 55 mph, cruise steadily for ten minutes, decelerate without braking to 20 mph, idle one minute, then repeat.
This allows catalyst, EVAP, oxygen sensor, and EGR monitors to complete. You can check readiness status with your scanner under “I/M Readiness” or “Monitor Status.”
“Replaced the O2 sensor on my Silverado, cleared codes with a scanner, then followed the GM drive cycle from the service manual. All monitors set to ‘Ready’ after about 60 miles.” via SilveradoSierra.com
Precautions and Limitations
Never reset the light before diagnosing the code, you’re just guessing at that point. If the same DTC returns within a few miles, you haven’t fixed the problem: all you’ve done is erase evidence your mechanic (or emissions tester) needs. Also, clearing codes moments before an emissions test will trigger an automatic fail in most states because readiness monitors won’t have completed.
Finally, avoid using “code-reader” apps that promise wireless resets via cheap ELM327 clones: many fail to fully erase Ford, GM, and Chrysler proprietary codes, leaving the light on or causing communication errors.
Ensuring Engine Health
Verifying Code Clearance and Readiness Monitors
After a reset, drive normally for at least fifty miles, longer if you used a battery disconnect, then rescan for pending or confirmed codes. Check the “I/M Readiness” screen: you should see most monitors (Catalyst, Oxygen Sensor, EVAP, EGR) marked “Ready” or “Complete.” On 1996–1999 OBD-II vehicles, up to two monitors can remain “Not Ready” and still pass emissions: from 2000 onward, most states allow only one incomplete monitor (excluding EVAP on diesels).
If monitors won’t set after 100+ miles, you may have an intermittent fault preventing completion, common culprits include a marginal battery, faulty thermostat preventing closed-loop operation, or a slow oxygen sensor.
Addressing Recurring Engine Light Issues
If the check engine light reappears within hours or days, you’re chasing a persistent fault. Double-check your repair: Did you torque the new oxygen sensor to spec (typically 30–35 ft-lb)? Is the connector fully seated and free of corrosion? On EVAP codes, inspect the charcoal canister and vent solenoid for cracks.
For misfires, swap ignition coils between cylinders and see if the code follows, if P0301 becomes P0304 after a coil swap, you’ve found your bad coil. Persistent multi-cylinder misfires often point to fuel-delivery problems (clogged filter, weak pump) or vacuum leaks around the intake manifold gasket.
Preparing for Emissions Testing
Most states require a “readiness check” before the tailpipe sniffer test. Arrive with all monitors complete, fuel tank between ¼ and ¾ full (EVAP monitor won’t run on a nearly empty or overfilled tank), and the engine at normal operating temperature. If you cleared codes recently, give yourself at least a week and 100–200 miles of mixed driving (city and highway) to ensure every monitor cycles.
Some inspection stations offer a free pre-check scan: use it to confirm readiness before you pay the test fee. According to EPA data, vehicles with incomplete monitors account for roughly 12% of initial emissions test failures nationwide.
Maintenance Practices to Prevent Warning Lights
Routine upkeep is your best defense. Replace spark plugs and air filters at the intervals in your owner’s manual, on most modern Chevys, that’s every 100,000 miles for iridium plugs and every 30,000 for the engine air filter. Use Top Tier gasoline to keep injectors and intake valves clean: brands like Shell, Chevron, and Mobil meet the spec.
Inspect your gas cap’s rubber seal annually and replace it if cracked: a Stant OEM Gas Cap costs under twenty dollars and eliminates the most common EVAP code. Finally, address oil consumption early, burning a quart every 1,000 miles can foul oxygen sensors and catalysts, triggering P0420 or P0430 codes that cost far more to fix than a simple valve-cover gasket or PCV valve replacement.

Data Insights & Analysis
Expert Note: Oxygen sensor degradation accelerates in short-trip, cold-start conditions because the sensor never reaches optimal operating temperature (≥600°F). According to 2025 Bosch Automotive Aftermarket reports, upstream O2 sensors on vehicles driven fewer than ten miles per trip fail 40% faster than those on highway-commute vehicles, explaining why city-driven Chevys see P0130-series codes more frequently.
Recent General Motors service bulletins indicate that 2019–2023 Silverado and Tahoe models equipped with the 5.3L V8 exhibit a higher-than-average rate of P0300 random misfire codes traced to carbon buildup on direct-injection intake valves. GM now recommends a walnut-shell media cleaning service every 60,000 miles for these engines, a procedure that costs $300–$500 but prevents catalyst damage and restores fuel economy.
User data from RepairPal’s 2026 Diagnostic Trends Report shows that nearly 18% of check engine light resets performed without prior code reading result in the light returning within 50 miles, underscoring the importance of diagnosis before clearance. Among DIY Chevy owners, battery-disconnect resets remain the most popular method (58%), followed by OBD-II scanner erases (34%) and natural drive-cycle clears (8%).
Frequently Asked Questions
What are the three main methods to reset a Chevy check engine light?
You can reset a Chevy check engine light using an OBD-II scanner to erase codes (preserves presets and readiness), disconnecting the battery negative terminal for 15-20 minutes (hard reset, clears all adaptive memory), or completing a manufacturer drive cycle that allows monitors to verify repairs automatically. Each method has trade-offs in terms of data preservation and completion time.
Why shouldn’t I reset my check engine light without diagnosing the code first?
Resetting without diagnosing only provides temporary relief—the light will return, sometimes within minutes. Without understanding the underlying fault, you’re guessing at the problem. Additionally, emissions testers and mechanics need the stored codes to properly diagnose issues, so clearing them erases critical diagnostic evidence.
How long does it take for readiness monitors to show ‘Ready’ after a Chevy check engine light reset?
Readiness monitors typically complete after 50-100 miles of mixed driving over several days under normal conditions. A full drive cycle—including cold starts, highway cruising, and idle periods—may take 100-200 miles depending on ambient temperature and driving patterns. You must verify ‘Ready’ status before emissions testing.
What does a flashing check engine light mean on a Chevy, and what should I do?
A flashing check engine light signals an active, severe misfire that can damage your catalytic converter within minutes. Never attempt a reset. Instead, reduce throttle immediately, avoid highway speeds, and drive directly to a service bay. A steady amber light is safe to drive but requires a diagnostic check soon.
Can I pass an emissions test immediately after resetting my Chevy’s check engine light?
No. Clearing codes sets all readiness monitors to ‘Not Ready.’ Most states fail vehicles with more than one incomplete monitor. You must complete the manufacturer’s drive cycle so monitors show ‘Ready’ before testing, which typically requires 100-200 miles of mixed driving over several days.
What are the most common reasons a Chevy check engine light turns on?
The most frequent causes include a loose or damaged gas cap (EVAP codes P0455/P0456), failing oxygen sensors (P0130-P0167 range), misfiring cylinders (P0300-series), and faulty catalytic converters (P0420/P0430). According to CarMD’s 2025 report, oxygen sensor failures remain the leading cause across all brands, accounting for nearly 8% of all diagnostic trouble codes.
Read More:
- Chevy Check Engine Light (Means, Root Causes & How to Fix It)
- Chevy Silverado Check Engine Light (Meaning, Causes and Quick Fix Guide)
- Chevy Trax Check Engine Light (Here’s the Quick Fix in 2015-Present)
- Chevy Traverse Check Engine Light (Means and Common Causes)
- Chevy Malibu Check Engine Light (Decode & How to Fix It Fast)