
Your Dodge Journey’s check engine light just came on, and you’re wondering if you can still drive to work or if you need to pull over immediately. That little yellow warning icon can mean anything from a loose gas cap to a serious engine misfire.
A solid check engine light on your Dodge Journey indicates a stored diagnostic trouble code (DTC) that requires attention but doesn’t pose immediate danger, while a flashing light signals active engine misfires that can damage your catalytic converter if you keep driving, you should pull over safely and diagnose the issue right away using an OBD2 scanner to read the specific fault code.
This guide walks you through the most common triggers on 2.4L and 3.6L Journey models, shows you how to pull codes yourself, and helps you decide whether it’s a quick DIY fix or time to visit a mechanic.
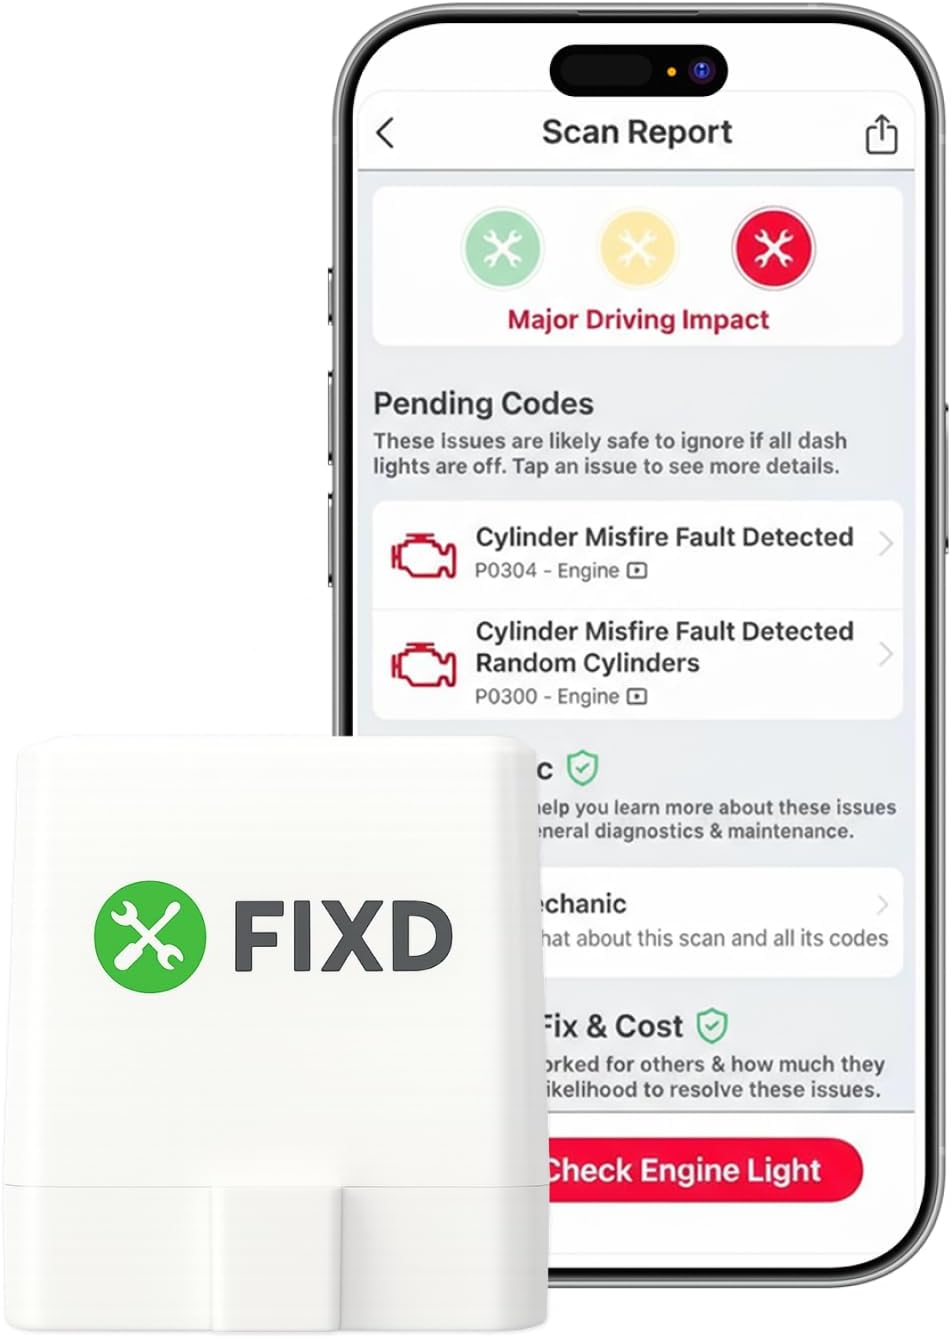
Best Bluetooth OBD2 Scanner
Detect 39,000+ Issues With Enhanced Codes. Save $1000s on car repairs & buying used vehicles by diagnosing problems yourself.
Shop on Amazon
Key Takeaways
- A solid Dodge Journey check engine light indicates a stored diagnostic code requiring attention within days, while a flashing light signals active misfires that demand immediate action to prevent costly catalytic converter damage.
- Use an OBD2 scanner or Dodge’s key dance method to read diagnostic trouble codes yourself, then cross-reference codes with repair databases before replacing components.
- The most common Dodge Journey check engine light triggers include loose gas caps (P0456), spark plug and ignition coil failures (P0301–P0306), oil filter housing cracks (P06DD), and thermostat issues (P0128).
- Always fix the underlying fault before clearing the check engine light, then drive through a complete EPA-recommended cycle to verify the repair and reset ECM monitors to “Ready” status.
- Replace faulty oxygen sensors and spark plugs in pairs to avoid mismatched readings, and use OEM-spec parts or reliable aftermarket brands like Denso and Bosch for best results.
Understanding the Check Engine Warning
The check engine light, officially called the Malfunction Indicator Lamp (MIL), lives on your instrument cluster and connects directly to your Journey’s onboard computer, the Engine Control Module (ECM). When a sensor reads values outside expected parameters, the ECM logs a diagnostic trouble code and illuminates the MIL.
Solid vs. Flashing Light Meaning
A solid yellow or amber check engine light means the ECM detected and stored a fault code. You can usually continue driving, but you should diagnose the issue within a few days. Common causes include oxygen sensor drift, EVAP leaks, or thermostat rationality codes like P0128.
A flashing check engine light is your Journey’s urgent warning that one or more cylinders are misfiring right now. Unburned fuel can overheat and destroy your catalytic converter, a repair that costs over a thousand dollars. Pull over safely, turn off the engine, and arrange a tow or very gentle, short drive to a repair facility.
Ignoring a flashing light risks catastrophic converter damage and dangerous exhaust temperatures. If you see rapid blinking, don’t keep driving to “see if it goes away.” Address it immediately.
What the Malfunction Indicator Lamp Signals
The MIL doesn’t diagnose the problem for you, it simply tells you the ECM found something wrong. That “something” could be emissions-related (oxygen sensors, EVAP purge valves, catalytic efficiency), powertrain-related (misfires, camshaft position), or even a temporary voltage glitch.
Dodge Journey owners often see the light after:
- Filling up with fuel and not fully tightening the gas cap
- Cold-weather startups that expose weak ignition coils or spark plugs
- Oil pressure sensor failures from cracked plastic oil filter housing (common on 3.6L V6 models)
- Battery voltage drops that confuse multiple sensor circuits
The ECM stores both “pending” codes (one-time events) and “confirmed” codes (faults detected over multiple drive cycles). A pending code won’t always turn on the light, but a confirmed code will. This is why some lights appear days after the actual trigger event.
How Engine Performance Is Affected
Once the check engine light is on, your Journey may enter “limp mode” to protect the engine and transmission. Limp mode limits throttle response, reduces maximum RPM, and disables higher gears. You’ll notice sluggish acceleration and poor fuel economy.
Some codes don’t trigger limp mode at all. A small EVAP leak (P0456) or downstream oxygen sensor code (P0141) usually won’t change how the vehicle drives. But a crankshaft position sensor fault or multiple cylinder misfires will make the engine run rough, shake at idle, or hesitate under load.
“My 2015 Journey with the 3.6 started shaking and the light came on solid. Scanned it and got P0302, cylinder 2 misfire. Swapped the coil and plug, problem solved.” via r/Cartalk
If the light is solid and you don’t notice drivability changes, you can typically drive carefully to a parts store or home to scan the code. But any stumbling, loss of power, or rough idle means you should minimize driving until you fix the root cause.
Common Triggers and Diagnostic Trouble Codes
Dodge Journey models have a handful of recurring fault codes that technicians see constantly. Here’s what each family of codes usually means.
Loose Gas Cap and EVAP Leaks
P0456 (small EVAP leak) and P0457 (loose or missing gas cap) are the easiest fixes. After refueling, twist the cap until it clicks three times. If the light stays on, inspect the cap’s rubber seal for cracks. A new OEM gas cap costs around fifteen dollars and often clears the code after a few drive cycles.
P0456 can also point to a faulty EVAP purge valve or a cracked charcoal canister hose. On 2009–2016 Journeys, the purge valve solenoid (located near the intake manifold) is a common culprit. Replacing it is straightforward, unclip the electrical connector, twist out the old valve, and snap in the new one.
Engine Misfires and Spark Issues
P0300 (random misfire), P0301 through P0306 (cylinder-specific misfires), and P0128 (thermostat) often appear together after cold starts. The 2.4L four-cylinder and 3.6L Pentastar V6 both use individual coil-on-plug ignition. Over time, coils crack internally or spark plugs foul with carbon.
Swap spark plugs every 30,000 miles and coils at the first sign of a misfire code. Use a quality coil pack and OEM-spec plugs. On the 3.6L, cylinder 2 and 5 coils fail more often due to heat buildup near the firewall.
Catalyst and Emission System Problems
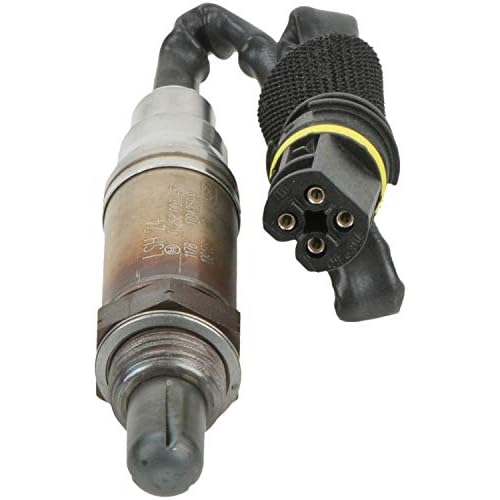
P0420 (catalyst efficiency below threshold) and P0141 (oxygen sensor heater circuit) indicate aging emissions hardware. P0420 doesn’t always mean you need a new catalytic converter, sometimes a failing upstream or downstream O2 sensor sends bad data to the ECM.
Replace oxygen sensors in pairs (both upstreams or both downstreams) to avoid mismatched readings. Denso and Bosch are reliable aftermarket brands. If P0420 persists after sensor replacement, the converter substrate may be clogged or damaged from prolonged misfires.
Other Frequent Code Causes
P06DD (oil pressure control stuck off) is infamous on 3.6L Journeys. It usually means the plastic oil filter housing adapter has cracked, leaking oil into the valley and confusing the oil pressure sensor. Inspect under the intake manifold for pooled oil. The housing replacement takes a few hours but prevents low-oil-pressure engine damage.
P0128 (coolant thermostat rationality) means the engine takes too long to reach operating temperature. On these crossovers, the thermostat housing is integrated with coolant hoses and often warps. Replace the entire assembly and burp the cooling system to avoid air pockets.
P0562 (system voltage low) can appear after a weak battery or corroded terminals. Clean battery posts with a wire brush and load-test the battery. A failing alternator will also trigger voltage codes, check belt tension and alternator output with a multimeter.
How to Diagnose and Read Codes
You don’t need a dealership scan tool to pull codes from your Journey. A basic OBD2 scanner gives you the DTC number and description in seconds.
Using an OBD2 Scanner or Scan Tool
Locate the OBD2 port under the dashboard, left of the steering column. Plug in your scanner with the ignition off. Turn the key to the “On” position (don’t start the engine) and press “Read” on the scanner. It will display all stored and pending codes.
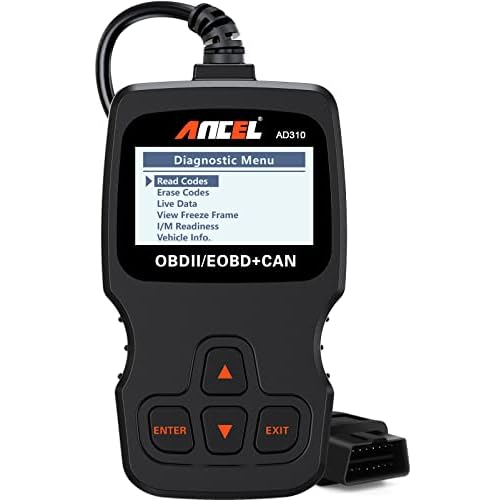
Entry-level code readers like the ANCEL AD310 cost around thirty dollars and show generic powertrain codes (P-codes). More advanced scanners like the BlueDriver Bluetooth OBD2 pair with your smartphone and provide live data, freeze-frame snapshots, and repair tips.
The Journey Key Dance Method
If you don’t have a scanner, Dodge’s built-in diagnostic mode can display codes on the odometer screen. Insert the key and cycle it from Off to Run three times (don’t crank the engine). On the third cycle, leave it in Run. The odometer will show “P-codes” one at a time. Write them down, then look up each code online.
This method only works on pre-2014 Journey models with traditional key ignitions. Newer push-button start versions require an OBD2 scanner.
Interpreting Diagnostic Codes
Each code follows a five-character format: P (powertrain), U (network), B (body), or C (chassis), followed by four digits. The second digit tells you if it’s generic (0) or manufacturer-specific (1). The last three digits identify the system and fault.
For example, P0301 breaks down as:
- P = Powertrain
- 0 = Generic (SAE standard)
- 3 = Ignition system
- 01 = Cylinder 1 misfire
Cross-reference codes with repair databases like Mitchell1 ProDemand or free forums such as DodgeForum.com. Pay attention to “freeze frame” data, the ECM snapshot of engine conditions when the code set.
When to Seek Professional Diagnosis
If you see multiple unrelated codes (a dozen or more), suspect a wiring harness issue, ground fault, or ECM problem. Intermittent codes that come and go may require a data-logging scanner and test drives. Codes related to transmission control (P07XX) or ABS modules (C-codes) often need dealer-level software to diagnose fully.
Don’t throw parts at the problem. Confirm the root cause before replacing sensors or modules.
Resolving Warning Lights and Resetting Procedures
Clearing the code without fixing the underlying issue just turns off the light temporarily, the ECM will set it again once it detects the fault.
Fixing the Underlying Issue First
Replace faulty components or repair leaks before clearing codes. If P0456 appeared, tighten the gas cap and drive for two days. If P0302 showed up, swap the spark plug and coil for cylinder 2. Wait until the repair is complete and you’ve test-driven the vehicle before resetting the light.
Some repairs require a “drive cycle” to complete, specific conditions (idle, cruise, deceleration) that let the ECM verify all monitors. The EPA drive cycle guide outlines these steps. On Dodge Journey models, a complete drive cycle usually includes five minutes of highway cruising, a few stops and starts, and overnight soak time.
How to Reset the Check Engine Light Properly
Connect your OBD2 scanner, turn the ignition to Run, and select “Clear Codes” or “Erase DTCs.” The light should turn off immediately. Disconnect the scanner and start the engine to confirm.
Alternatively, disconnect the negative battery terminal for ten minutes. This clears all ECM memory, including radio presets and adaptive transmission settings. The car may idle rough for a few miles while the ECM relearns fuel trims.
“Cleared my P0128 code after swapping the thermostat housing. Light stayed off for six months now. Don’t skip the coolant burp or you’ll get the code back.” via DodgeJourneyForum
How the Light May Reset Itself
If the fault was a one-time event (like a loose connector that you reseated), the ECM may clear the code automatically after 40 warm-up cycles without recurrence. The light will turn off, but the code remains stored as “history” until you erase it with a scanner.
Monitor the light for a week after clearing. If it returns, the repair didn’t solve the problem or you have a second issue.
Precautions After Resetting
Some states require all ECM monitors to show “Ready” status before passing emissions inspection. Clearing codes resets these monitors to “Not Ready.” Drive the vehicle through a complete drive cycle so monitors run and set to Ready. Check monitor status with your scanner before heading to the inspection station.
If the light returns immediately after clearing, you likely have an active, present fault, not a stored history code. Re-scan and verify your repair.
Here’s a quick comparison of common fixes:
| Code | Typical Cause | DIY Fix Time | Parts Needed |
|---|---|---|---|
| P0456 | EVAP leak / gas cap | 5 minutes | Gas cap or purge valve |
| P0301–P0306 | Spark plug / ignition coil | 30–60 minutes | Plugs, coil pack |
| P06DD | Oil filter housing crack | 3–4 hours | Housing, gaskets, oil |
| P0128 | Thermostat stuck open | 1–2 hours | Thermostat housing, coolant |
| P0420 | Catalyst or O2 sensor | 1 hour (sensor) / 3 hours (cat) | O2 sensor or converter |
For a detailed walkthrough of the OBD2 scanning process, watch this Dodge Journey check engine light diagnostic tutorial on YouTube.
Frequently Asked Questions
What does a solid vs. flashing check engine light mean on a Dodge Journey?
A solid check engine light indicates a stored fault code requiring attention within a few days. A flashing light signals active cylinder misfires that can damage your catalytic converter; pull over immediately and avoid driving. Ignoring a flashing light risks costly converter damage and dangerous exhaust temperatures.
Can I drive my Dodge Journey with the check engine light on?
If the light is solid and your Journey drives normally, you can cautiously drive to a mechanic or parts store. However, if you notice rough idling, hesitation, or loss of power, minimize driving immediately. A flashing check engine light always requires pulling over and seeking professional help.
What are the most common check engine light codes on Dodge Journey models?
Common codes include P0456 (EVAP leak), P0301–P0306 (cylinder misfires), P0128 (thermostat), P0420 (catalyst efficiency), and P06DD (oil pressure sensor). On 2.4L and 3.6L models, loose gas caps, faulty coils, and spark plugs are frequent culprits causing the check engine light.
How do I read diagnostic trouble codes on my Dodge Journey without a scanner?
Pre-2014 Journey models with traditional keys can use the ‘Key Dance Method’: cycle the key from Off to Run three times without starting, then leave it in Run. The odometer displays codes one at a time. Newer push-button models require an OBD2 scanner to read codes.
Will resetting the check engine light fix the problem on my Dodge Journey?
No. Clearing the code without fixing the underlying issue temporarily turns off the light, but the ECM will set it again once it detects the fault. Always diagnose and repair the root cause first, then reset. Use an OBD2 scanner or disconnect the battery for ten minutes to clear codes.
How much does it cost to fix a check engine light on a Dodge Journey?
Costs vary widely depending on the code. A gas cap replacement costs about $15, spark plug or coil swaps run $30–$100, thermostat housing replacement costs $200–$400, and catalytic converter replacement exceeds $1,000. Diagnose the specific fault code before budgeting repairs.
Read More:
- BMW Check Engine Light (Quick Diagnostic Guide to Fix It Fast)
- Audi Check Engine Light (Meaning, Common Causes and DIY Fix Guide)
- Dodge Check Engine Light (Quick Codes & Fixes for HEMI & Pentastar)
- Dodge Ram Check Engine Light (What It Means & How to Fix It Fast)
- Chevy Check Engine Light (Means, Root Causes & How to Fix It)