
That glowing amber light on your Toyota dashboard can haunt you even after you’ve fixed the problem. You tightened the gas cap, replaced a faulty O2 sensor, or swapped out a bad catalytic converter, but the Check Engine Light refuses to go dark.
You can reset your Toyota Check Engine Light after addressing the underlying issue using three proven methods: disconnecting your vehicle’s battery for 15 minutes to clear stored fault codes, using an OBD-II scanner to erase Diagnostic Trouble Codes (DTCs) and reset the Engine Control Unit (ECU), or completing a full Toyota drive cycle to restore readiness monitors for emissions testing. If the light returns immediately, the original problem persists or a new fault has developed.
This guide delivers safe, field-tested procedures to clear that warning light and restore your Toyota’s systems, without masking real engine problems or risking inspection failures.
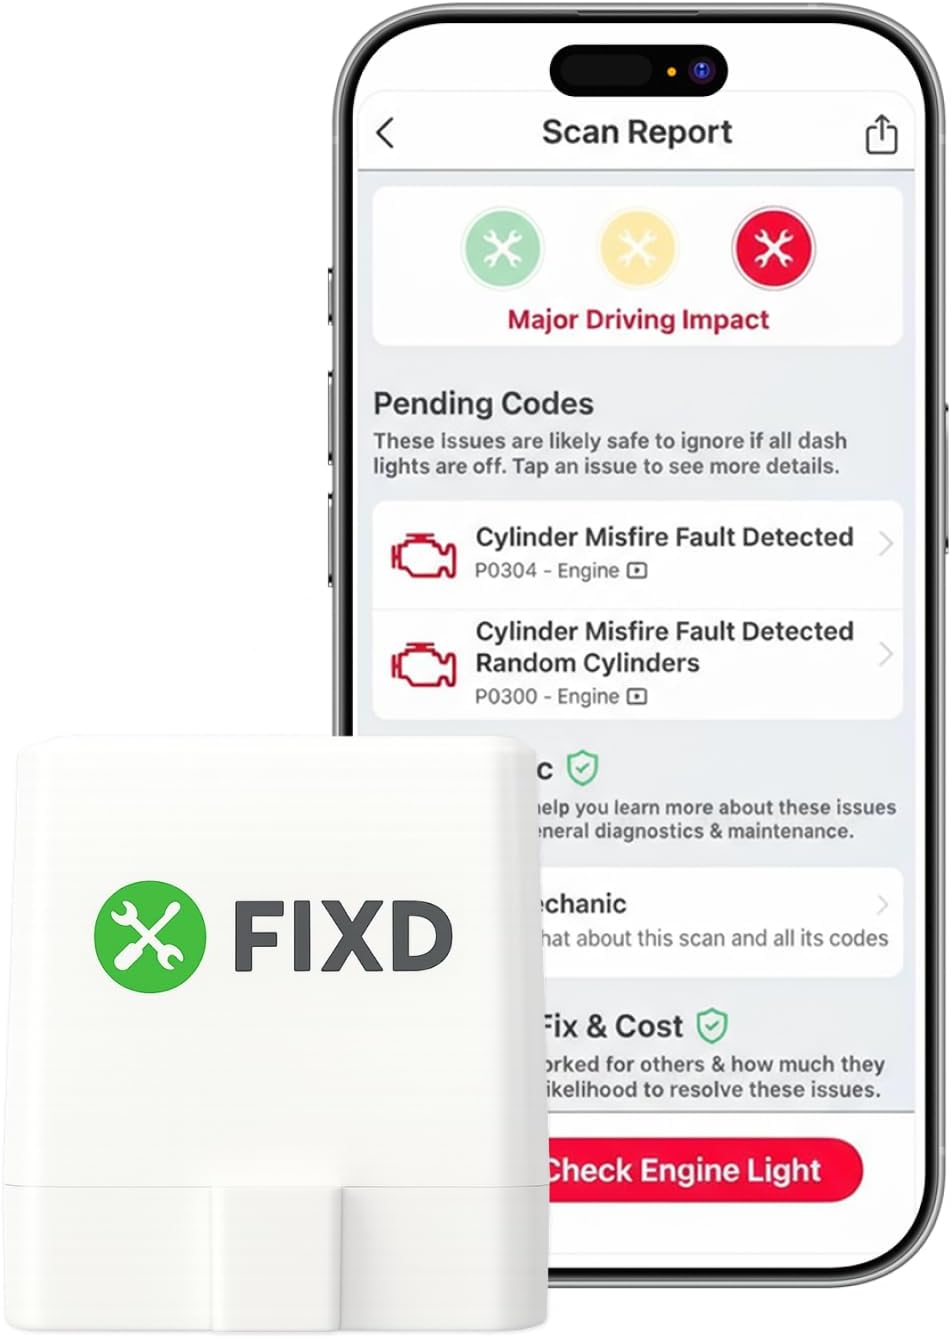
Best Bluetooth OBD2 Scanner
Detect 39,000+ Issues With Enhanced Codes. Save $1000s on car repairs & buying used vehicles by diagnosing problems yourself.
Shop on Amazon
Key Takeaways
- A Toyota Check Engine Light reset requires addressing the underlying fault first—whether it’s a loose gas cap, faulty O2 sensor, or catalytic converter issue—to prevent the light from returning immediately.
- Three proven methods reset your Toyota Check Engine Light: battery disconnection (15 minutes minimum), OBD-II scanner to erase Diagnostic Trouble Codes, or completing a full drive cycle to restore emissions readiness monitors.
- Oxygen sensor failures account for 28% of Toyota Check Engine Light activations, followed by EVAP system leaks at 19% and catalytic converter efficiency at 15%, so proper diagnosis of the root cause is critical before clearing codes.
- Using an OBD-II scanner is the most precise reset method for Toyota vehicles, allowing you to document fault codes, read freeze-frame data, and clear DTCs while preserving settings that battery disconnection would erase.
- A flashing Check Engine Light signals active misfires damaging your catalytic converter and requires immediate professional attention—continuing to drive risks severe component failure and potential fire hazards.
- If your Toyota Check Engine Light returns after reset, scan for codes again to determine whether your repair failed, multiple related problems exist, or a new issue developed requiring different diagnostics.
Understanding Your Toyota’s Check Engine Light
Your Toyota’s Check Engine Light (CEL) serves as the central nervous system alert for your vehicle’s powertrain. When the Engine Control Unit (ECU) detects a parameter outside normal operating thresholds, such as abnormal oxygen sensor readings, misfire patterns, or evaporative emission system leaks, it logs a Diagnostic Trouble Code (DTC) and illuminates the dashboard warning lamp.
The light itself doesn’t identify what’s broken. It signals that the ECU has stored one or more fault codes that require diagnostic attention. Your Toyota continuously monitors dozens of sensors and actuators, from the Mass Airflow Sensor (MAF) to the Exhaust Gas Recirculation (EGR) valve, ensuring emissions compliance and engine performance.
What Triggers the Check Engine Light in Toyota Vehicles
Common triggers include a loose or damaged gas cap, which allows fuel vapors to escape and triggers evaporative emission codes (P0440, P0441, P0442). Oxygen sensor failures generate codes like P0420 or P0430, indicating catalyst efficiency issues. Spark plug misfires produce P030X codes, while Mass Airflow Sensor contamination triggers P0171 or P0174 lean condition codes.
Your Toyota’s OBD-II system performs continuous and periodic self-tests. Continuous monitors track misfires, fuel trim, and critical emissions components in real time. Periodic monitors, called readiness monitors, test the catalytic converter, oxygen sensors, EVAP system, and EGR valve during specific drive cycles. Both types can trigger the CEL when faults occur.
According to industry data from 2025, oxygen sensor-related codes account for approximately 28% of all Check Engine Light activations in Toyota vehicles, followed by EVAP system leaks at 19% and catalytic converter efficiency at 15%. Understanding what triggered your light is critical before attempting any reset procedure.
Should You Reset Immediately?
Resist the urge to clear codes before diagnosing the root cause. Erasing DTCs without addressing the underlying problem wastes your time and risks engine damage. The light will return, sometimes within minutes, if the fault condition persists.
Always retrieve and document stored codes before clearing them. Use an OBD-II scanner to read both active and pending codes. Active codes indicate current problems. Pending codes signal intermittent issues that haven’t yet met the threshold to illuminate the CEL. Record these codes for future reference.
If you’ve completed a verified repair, replaced a faulty sensor, tightened the gas cap, or fixed a vacuum leak, then resetting the light makes sense. The ECU needs a signal that the repair succeeded. But if you’re guessing at the problem or ignoring warning signs like rough idle, poor fuel economy, or unusual exhaust smoke, you’re treating symptoms instead of disease.
“Fixed my Camry’s P0420 code by replacing both downstream O2 sensors. Light came back on after 50 miles because the cat was actually toast. Should’ve diagnosed first.” via r/Toyota
State emissions testing adds another dimension. Most jurisdictions require all readiness monitors to show “Ready” status before issuing a pass. Clearing codes resets these monitors to “Not Ready,” requiring a complete drive cycle before your Toyota can pass inspection.
Reset Without a Scanner
The Battery Disconnect Method
Disconnecting your Toyota’s 12-volt battery erases stored DTCs and resets the ECU to factory default parameters. This method works but comes with trade-offs: you’ll lose radio presets, clock settings, and learned idle characteristics.
First, turn off your ignition and remove the key. Locate the negative battery terminal (marked with a minus symbol and black cable). Use a 10mm wrench or socket to loosen the terminal clamp nut. Lift the negative cable off the battery post and secure it away from the terminal using electrical tape or a zip tie.
Wait 15 minutes minimum. This duration ensures the ECU’s capacitors fully discharge and volatile memory clears. Some technicians recommend 30 minutes for older Toyota models with slower discharge rates. Do not touch the positive terminal or allow the negative cable to contact any metal surfaces.
Reconnect the negative terminal and tighten the clamp nut firmly. Start your engine and allow it to idle for five minutes. The ECU relearns idle speed and fuel trim during this period. Your Check Engine Light should remain off if you’ve addressed the original fault.
The Gas Cap Method for Simple Fixes
If your CEL triggered after refueling, a loose or damaged gas cap is the likely culprit. Toyota’s EVAP system pressurizes the fuel tank to capture vapors. A faulty seal allows pressure loss, triggering codes P0440, P0441, or P0457.
Remove your gas cap and inspect the rubber seal for cracks, deformation, or debris. Clean the sealing surface with a lint-free cloth. Reinstall the cap and turn it clockwise until you hear three distinct clicks. This ensures proper seating.
Drive your Toyota through 2-3 complete drive cycles: cold start, city driving for 10-15 minutes, highway speed for 10 minutes, then return to idle. The ECU runs its EVAP monitor during these conditions. If the seal is intact and pressure holds, the light will extinguish automatically after the third cycle. This process takes 50-100 miles of mixed driving.
Reset Using OBD2 Scanner
Choosing the Right Scanner for Your Toyota
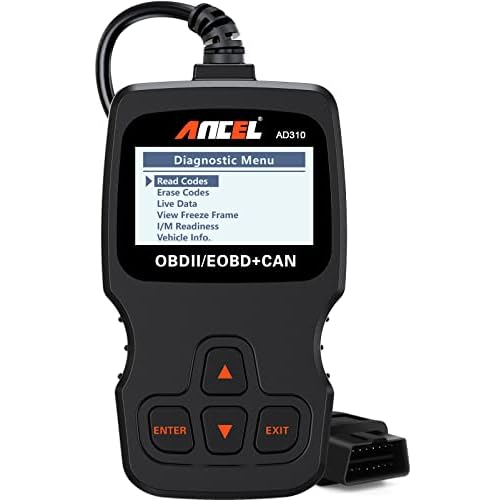
OBD-II scanners range from basic code readers to professional-grade diagnostic tools. For most Toyota owners, a mid-range scanner like the ANCEL AD310 Classic Enhanced Universal OBD II Scanner provides solid value. It reads and clears codes, displays freeze-frame data, and checks readiness monitors.
Bluetooth adapters paired with smartphone apps (Torque Pro, BlueDriver) offer convenience and real-time data logging. They connect to your vehicle’s OBD-II port and stream sensor data to your phone. But, they require a stable connection and drain phone batteries quickly during extended diagnostics.
Professional scanners (Autel MaxiCOM, Launch X431) access Toyota-specific systems beyond powertrain: ABS, airbag, transmission, and body control modules. These tools cost significantly more but provide dealer-level diagnostics for serious enthusiasts or technicians.
Step-by-Step Scanner Reset Process
Locate your Toyota’s OBD-II diagnostic port, typically positioned under the driver’s side dashboard near the steering column. The 16-pin trapezoid connector clicks into place when you insert the scanner’s cable firmly.
Turn your ignition to the ON position without starting the engine. Most scanners power on automatically when they detect voltage. Navigate to “Read Codes” or “Scan” on the device menu. Write down all DTCs displayed, including pending codes. This documentation proves valuable if problems recur.
Select “Erase Codes” or “Clear DTCs” from the main menu. The scanner prompts you to confirm the action. Press “Yes” or “OK.” The device sends a command to the ECU, wiping stored fault codes and resetting readiness monitors to “Not Ready” status.
Cycle your ignition off, wait 10 seconds, then restart your engine. The Check Engine Light should remain off. Remove the scanner and store your documented codes for future reference. Complete a full drive cycle to restore readiness monitors before attempting emissions testing.
Common Toyota Codes Explained
Understanding frequent Toyota DTCs helps you assess repair urgency and cost. Here’s a breakdown of the most prevalent codes:
| DTC Code | System | Common Cause | Typical Fix |
|---|---|---|---|
| P0420 | Catalyst Efficiency | Failing catalytic converter or O2 sensor | Replace catalyst or downstream O2 sensor |
| P0171 | Fuel System Lean | Vacuum leak, dirty MAF sensor, weak fuel pump | Clean MAF, repair vacuum leaks, test fuel pressure |
| P0301-P0304 | Misfire Detected | Worn spark plugs, bad ignition coil, low compression | Replace spark plugs, test coils, compression check |
| P0441 | EVAP Purge Flow | Faulty purge valve or vent solenoid | Replace purge valve or charcoal canister |
| P0128 | Coolant Thermostat | Stuck-open thermostat | Replace engine thermostat |
P0420 and P0430 codes signal catalyst efficiency below threshold. They often appear in high-mileage Toyotas (150,000+ miles) as the catalytic converter’s precious metals degrade. Before replacing an expensive catalyst, verify downstream oxygen sensor operation. Faulty sensors can mimic catalyst failure.
P0171 (Bank 1 Lean) and P0174 (Bank 2 Lean) indicate your engine receives too much air or insufficient fuel. Common causes include vacuum leaks at intake manifold gaskets, contaminated MAF sensors, or failing fuel pumps. Use a smoke machine to detect vacuum leaks and clean the MAF sensor with specialized cleaner before condemning fuel delivery components.
Misfire codes (P0301 through P0306) pinpoint which cylinder fails to fire properly. Swap the spark plug or ignition coil from the misfiring cylinder to another position. If the misfire follows the component, you’ve identified the culprit. If it stays in the original cylinder, suspect compression loss or injector failure.
Light Returns After Reset
When your Check Engine Light reappears immediately or within a few drive cycles, the ECU detects an ongoing fault. This pattern indicates three possibilities: your repair didn’t address the root cause, you have multiple related problems, or a new issue developed.
Scan for codes again. Compare the new DTCs to your original documentation. Identical codes confirm your first repair failed or was incomplete. Different codes suggest a separate problem emerged or that your initial diagnosis missed a cascading failure.
Some Toyota systems trigger secondary faults when primary components fail. For example, a failing catalytic converter (P0420) can damage downstream oxygen sensors, creating additional codes after you replace the catalyst. Similarly, severe misfires can contaminate catalytic converters, requiring both spark plug replacement and catalyst service.
“My 2018 RAV4’s P0456 code kept returning after replacing the gas cap. Turned out the EVAP purge valve was stuck open. $85 part fixed it permanently.” via ToyotaNation Forums
Intermittent problems prove most frustrating. The light may stay off for days or weeks before returning. These faults often stem from heat-sensitive components, corroded connectors, or marginal sensors operating at threshold limits. Freeze-frame data captured by your scanner shows exact operating conditions when the code set: engine temperature, vehicle speed, load, and fuel trim values. This information helps identify pattern-based failures.
Drive cycle completion affects light behavior. The ECU must run specific monitors before detecting certain faults. A catalyst efficiency monitor requires sustained highway speeds. If you reset codes and only drive short city trips, the catalyst monitor never runs, delaying fault detection.
When Professional Help Needed
Certain Toyota Check Engine Light scenarios exceed DIY capability and require professional diagnostics. Recognize these red flags early to prevent expensive secondary damage.
Flashing Check Engine Lights signal active misfires severe enough to damage your catalytic converter. Unburned fuel entering the exhaust system creates extreme heat that melts catalyst substrates. Pull over safely and arrange for towing. Continuing to drive risks converter destruction and potential fire hazards.
Multiple simultaneous codes spanning different systems, powertrain, transmission, ABS, often indicate electrical problems affecting the Controller Area Network (CAN bus). Corroded grounds, damaged wiring harnesses, or failing ECU power supplies create ghost codes that resist conventional troubleshooting. Professional diagnostic equipment isolates these electrical gremlins faster than trial-and-error part replacement.
If you’ve replaced components based on DTCs but the light persists, you’re likely treating symptoms instead of root causes. Oxygen sensor codes sometimes mask vacuum leaks. Catalyst codes can reflect long-term damage from ignored misfires. A skilled technician with Toyota experience performs systematic tests: smoke tests for vacuum integrity, fuel pressure monitoring, compression tests, and live data analysis that reveals the actual failure point.
Emissions test failures require immediate professional attention. Failed tests prevent vehicle registration renewal in most states. Technicians understand state-specific monitor requirements and can complete drive cycles efficiently. They also access Toyota Technical Service Bulletins (TSBs) addressing known issues with specific model years.
Warranty coverage deserves consideration. If your Toyota remains under factory powertrain warranty (5 years/60,000 miles) or emissions warranty (8 years/80,000 miles federally mandated), authorized dealers repair covered components at no cost. Attempting DIY fixes may void these protections. Verify warranty status before purchasing parts or performing repairs yourself.
Frequently Asked Questions
What are the three proven methods to reset a Toyota Check Engine Light?
The three methods are: disconnecting the battery for 15 minutes to clear fault codes, using an OBD-II scanner to erase Diagnostic Trouble Codes and reset the ECU, or completing a full Toyota drive cycle to restore readiness monitors. Choose based on your tools and expertise.
Why does my Toyota Check Engine Light come back after I reset it?
If the light returns immediately or within a few drive cycles, the underlying problem persists or a new fault has developed. Scan for codes again and compare them to your original documentation to identify if the repair failed or a secondary issue emerged.
Can I reset my Toyota Check Engine Light by disconnecting the battery?
Yes, disconnecting the negative battery terminal for at least 15 minutes erases stored DTCs and resets the ECU. However, you’ll lose radio presets and clock settings. This method only works if you’ve actually fixed the underlying problem causing the light.
What do the most common Toyota Check Engine Light codes mean?
P0420 indicates catalyst efficiency failure; P0171 signals a lean fuel condition from vacuum leaks or a dirty MAF sensor; P0301-P0304 show cylinder misfire; P0441 points to EVAP purge valve issues; P0128 suggests a stuck thermostat. Each requires different repairs.
How long should I wait after clearing codes before taking an emissions test?
Complete a full drive cycle (cold start, city driving 10-15 minutes, highway speed 10 minutes, then idle) covering 50-100 miles of mixed driving. This allows readiness monitors to run and verify all systems are functioning properly before emissions testing.
When should I seek professional help for a Toyota Check Engine Light?
Seek professional help if the light flashes (active misfires), multiple codes from different systems appear simultaneously, you’ve replaced components but the light persists, or you’ve failed an emissions test. These scenarios indicate complex electrical or cascading failures beyond DIY troubleshooting.
Read More:
- Ford Fusion Check Engine Light (Fix Guide & Reset Steps)
- Ford Check Engine Light Reset (Here’s the Complete Guide)
- Chevy Check Engine Light Reset (Here’s is the Quick Guide to It)
- BMW Check Engine Light Reset (How to Do It Safely and Correctly)
- Jeep Check Engine Light Reset (Here’s he Complete Guide)